Repurpose a 2 liter bottle into this easy Plastic Bottle Greenhouse! It's a great gardening and science activity for kids through spring and summer!
This post may contain Amazon Affiliate links. Sweet Hazel Honey may receive a small commission for Amazon purchases made though these links at no cost to you. Thanks for your support!
Looking for more crafts, recipes, activities and other kid friendly ideas?
Follow me! Facebook, Pinterest or subscribe by email here!
Start your seeds in these recycled Plastic Bottle Greenhouses this year!
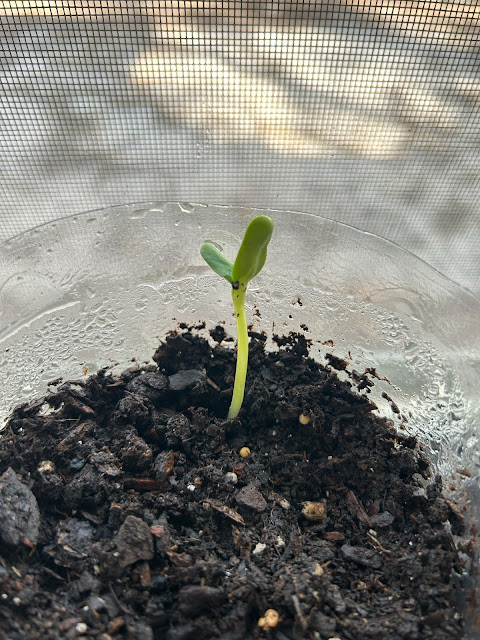
This activity is simple, mostly successful (except for a bad seed here and there), and so exciting for the kids to watch their plants grow.
You can incorporate science, gardening, math and even cooking into this activity, if you're planning on eating what you're planting.
This activity is best for ages 3 and up, and it's so easy to adapt to each age group. If you're doing this activity with a larger group of kids, just cut the bottles ahead of time and have them ready to go.
Keep scrolling for tips, process photos, additional garden themed activities and more!
Thanks so much for supporting a small business and visiting our family owned blog 💕
What supplies do you need?
- 2 liter bottles
- x-acto knife
- plastic wrap
- rubber band
- soil
- seeds (I used sunflower)
- spray bottle filled with water
- plastic tray, optional
- ruler and journal, optional
How to make:
Scroll down for measurements, instructions and printing!
Helpful tips:
- Use a 20 ounce bottle to plant one seed instead of a 2 liter.
- We cut the bottles and let Hazel help assemble them. Always be careful when using knives.
- Measure your plant and keep a journal of it's growth from the greenhouse and also when you transfer and plant outside.
More garden themed activities you may like:
I hope you enjoy this planting activity as much as our family did!

Plastic Bottle Greenhouses
materials:
- empty and clean 2 liter bottles
- x-acto knife
- soil
- seeds (I used sunflower for this project)
- spray bottle filled with water
- plastic wrap
- rubber band
- plastic tray, optional
steps:
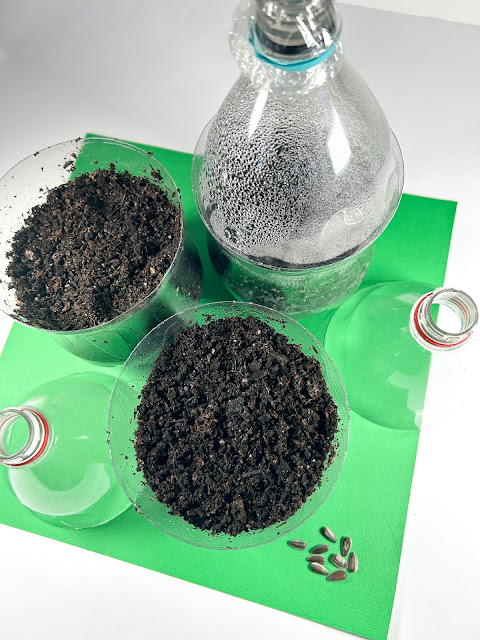
- Using the knife, cut the middle part of the 2 liter bottle out and discard.
- On the bottom of the bottle, cut a few drain holes using the knife. You’ll want the top portion of the bottle to fit just enough into the bottom portion to create the greenhouse.
- Fill the bottom portion of the bottle with soil. Poke 1-3 holes into the soil for the seeds and place a seed into each hole. Use the spray bottle to moisten the soil enough with water.
- Cover the top portion of the bottle with a piece of plastic wrap and secure with a rubber band. Place the lid on top of the bottom portion of the greenhouse.
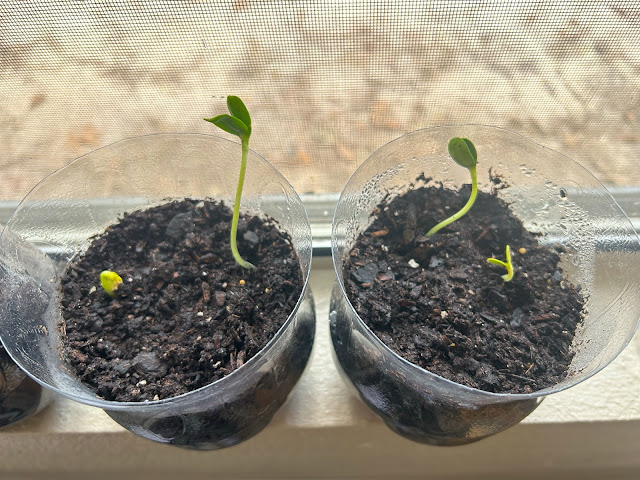
- Set the mini greenhouses near a window or in a window sill that gets good sunlight. Use a tray underneath if desired. Observe over a few days and water if soil gets dry.
- After a few days, you should see the seeds sprouting. If you do not see any seeds sprouting, you can try planting another until you get a sprout. Seeds not sprouting could be from just bad seeds.
- Once plants reach a certain height, you can transfer to a bigger container or garden outside and watch them grow!
Thanks so much for stopping by!
Around this time in blog history....
One year ago:
Looking for more crafts, recipes, activities and ideas?
Follow me! Facebook, Pinterest or subscribe by email!


Comments
Post a Comment